JDD Photography
I'm just your average Millennial, obsessed with staying home, binge-watching Parks & Rec and drinking all the Diet Coke in the house. I am a lover of Israel Diaz, female led businesses and long flowy dresses.
Welcome to my home on the internet where we talk life, theology, womanhood, marriage and work.
Search It
Archives
- October 2025 (1)
- June 2024 (1)
- May 2024 (1)
- April 2024 (1)
- December 2023 (5)
- November 2023 (2)
- October 2023 (3)
- September 2023 (5)
- August 2023 (3)
- July 2023 (3)
- May 2023 (2)
- April 2023 (1)
- August 2022 (3)
- December 2021 (3)
- October 2021 (3)
- September 2021 (4)
- August 2021 (2)
- February 2021 (1)
- January 2021 (9)
- June 2020 (1)
Categories
How To Take Better Smart Phone Pics of Your Kiddos
September 15, 2023
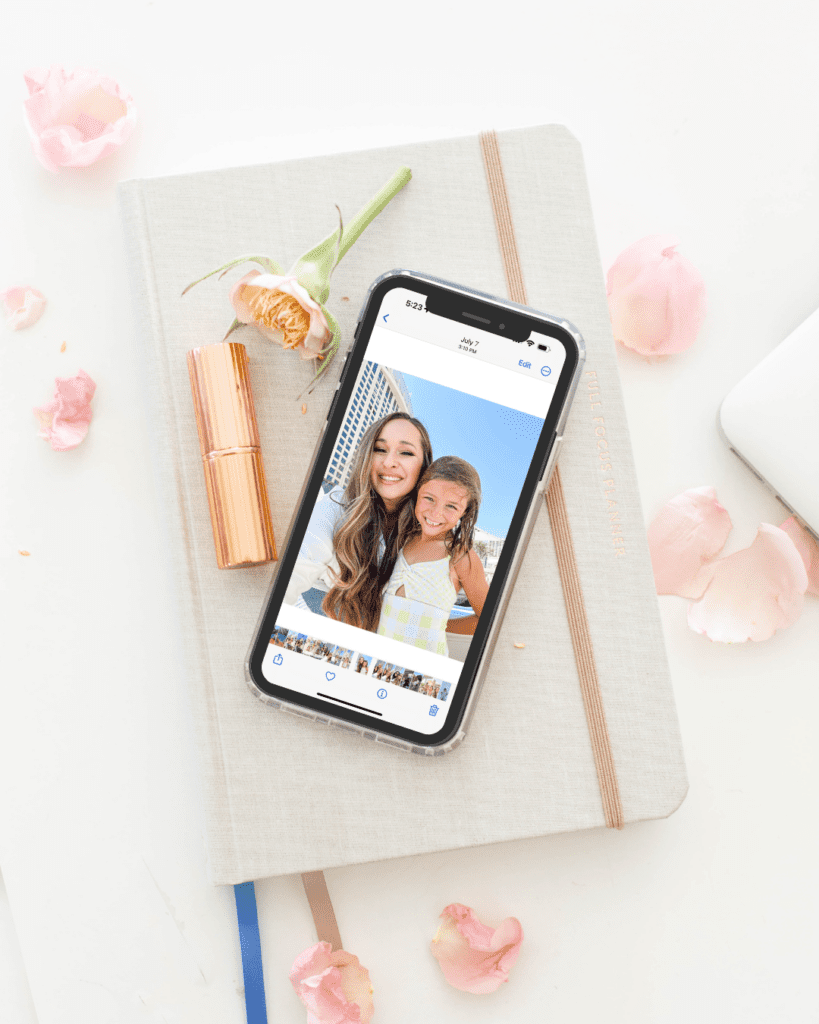
The best camera to take photos of the people you love is the one you got.
How many times have your kids done something so cute that you want to remember forever, but there’s no photographer around to capture the moment? How many milestones and mountaintop moments happen in your family on a daily basis but you don’t have a real, fancy camera to photograph them all? Friend, I am here to tell you something you may not already know: you have all the equipment you need to take beautiful, everyday photos of your loved ones and it’s probably sitting in your bag right now. Nowadays, smart phone cameras are capable of taking the kinds of photos you’ll want to frame all around the house. You just need to know how to use it to get high-quality images.
Over the next few weeks I am going to walk you through the 4 fundamental things that make for great photos: light, composition, perspective and editing, so that the next photos you take of your kids while you’re out and about are bangerzzz. And don’t worry, there are no additional apps or presets required! Everything can be done for free on the device you already have.
Are you ready? Let’s begin with light…
How To Find The Best Light For Your Smart Phone Photos
When it comes to photos light is everything. I try to achieve even lighting both on my subject and behind them for a really soft, glowy image, but hear me when I tell you: even lighting on my subject (or, the person I’m taking a photo of) matters more than anything else. My top priority is always my subject and I think yours should be too! At the end of the day, the background and the composition of the photo adds to a great image, but capturing the people I love matters more. So here are my top 5 tips for capturing your loved ones:
1. Get Outside
Whenever possible I want you to opt for natural light, meaning being outside vs. being inside. Artificial light casts unflattering colors and unnatural shadows so it’s always worth the effort to step outside for a photo you’ll love. Try to ignore the imperfections in both photos and look at how much brighter my skin looks in the second photo. It’s glowing. These photos were taken the same day, same makeup, same chipped nails lol. The only difference is the light.


Note: both images are edited
2. Find Open Shade and Put Your Kids In It
Open shade is this concept of being in the shade with nothing directly over your head. This usually happens before and after high-noon when shadows are cast to the side of things like buildings, trees, and things like that. Here’s an example of an iPhone photo taken in Open shade, and one taken underneath shade. Look at the difference in skin tone, image sharpness, and the overall feel of the image. Open shade makes everyone look amazing.


Note: both images are edited
3. Look to the Light
If you do find yourself under a roof of some sort I want you to face the light. Often times this means looking towards a window, or peering out from under the shade even if that means you don’t capture the background. So often we prioritize background over light, this is out biggest mistake. While we were in Vegas for my 30th, we went to Topgolf, obviously the background is much cooler in the first image, but you can’t see our faces and even edited, there’s not much that can save that image. The second image doesn’t have a cute background, but even unedited, I can see my grandma’s cute little face, and our skin looks great! Don’t be afraid to move your kiddos closer to the light source. Whether they’re standing in a room inside the house, or out on the patio under a roof, physically bring them closer to the window or the edge of the roof. The closer they are to the light they’re facing, the better. This also applies to days where it’s really cloudy or the sun has already (or is miiiighty close to) set[ting]. When sunlight is dim, turn towards the light.


Note: both images are unedited
4. Turn Your Loved One’s Body 45 Degrees Away from Direct Sunlight
Sometimes there is no open shade and all you’ve got to work with is the sun beaming down on you. In this case, I want you to turn your kiddos 45 degrees away from the sunlight so that their whole face is in their own shadow. I know, you’re probably thinking “Jess, what? Don’t we want to avoid shadows?” and yes, we do — but we only want to avoid patchy shadows, shadows that make our faces look unnaturally lined and bumpy. Remember, we want even lighting on our subject and when you turn away from direct sunlight, your whole face will be shaded, but it will be in even lighting. Izzy didn’t quite get to a full 45 degrees AWAY from direct sunlight and you can see that patch of sunlight on his face, but the rest of us are in completely even lighting. Here’s a before and after of this photo (straight from camera/edited) so you can see what it looks like.


5. Keep Your Lens In The Shade
When our subject is turning away from direct sunlight, your phone will inevitably be facing the sun to capture their face. THIS PART IS REALLY IMPORTANT: Do everything you can to get a patch of shade on your lens so that the sunlight is not directly pouring into it. This little trick (keeping your lens in the shade) will help you to get those glowing images. Whether you use your hand to block the sun, shuffle your feet around, tilt your phone around, or even use your spouse to block the sun for you, you will be so much happier with the result.


Note: both images are unedited
You Can Do This!
I know this is LOTS of new information, but just take it one step at a time. Even if you try just ONE of these steps, I am certain that you’ll begin to see the difference paying attention to light can make in your smart phone photos!
I’ll be back next week to talk about composition, but for now let me know in the comments if this was helpful! I love hearing from y’all 🙂
Until next time!
xo,
Jess
Meet Jess!
The Jesus followin', Free People wearin', chocolate chip cookie eatin' Diet Coke addict who loves her man, good fiction, and all things sparkly
Let's be friends!